Who This Checklist Is For
If you're sourcing silicone seals or adhesives for plastic components—especially PP compounds (polypropylene composites) used in automotive, appliance, or medical assemblies—you've likely faced the question: will silicone stick to plastic? The short answer is: it depends. The longer answer involves surface energy, primers, plasma treatments, and a lot of trial-and-error costs that never show up on the initial quote.
I'm a cost controller at a mid-size manufacturing company. Over the past six years I've managed about $180,000 in annual silicone materials spend, negotiated with 15+ vendors, and documented every order in our cost tracking system. This checklist comes from the mistakes I've made—and the ones I've caught before they became write-offs.
The 5-Step Checklist
Each step includes a verification point you can use to stay out of trouble.
Step 1: Lock Down Your Application Parameters
Before comparing suppliers, you need to know exactly what the silicone edge must survive. Don't assume 'standard' covers your use case.
- Temperature range – continuous vs. peak? Silicone can handle wide swings, but the bond line may degrade above 200°C.
- Chemical exposure – oils, solvents, cleaning agents? PP itself resists many chemicals, but the adhesive interface might not.
- Mechanical stress – peel, shear, cyclic loading? Edge bonding on linear vibration welds behaves differently than static gaskets.
- Substrate specifics – is your PP a homopolymer, copolymer, or glass-filled compound? Fillers alter surface energy dramatically.
Checkpoint: List every parameter in writing and confirm with at least two suppliers before requesting quotes. A supplier that asks “can you send the full spec?” is better than one that says “no problem” without questions.
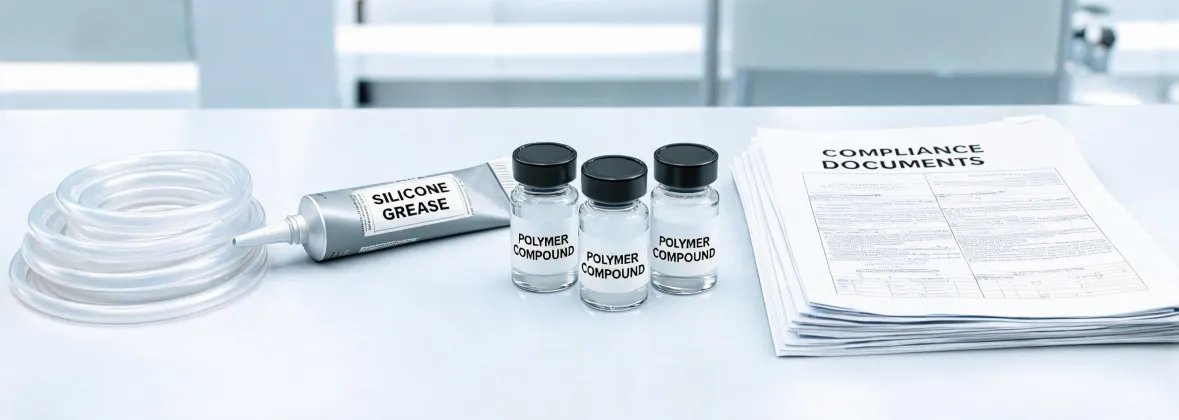
Step 2: Verify Compatibility—Including the Hidden Surface
PP is notoriously low-energy. Untreated polypropylene has a surface tension around 30 dynes/cm; silicone adhesives typically need 38+ dynes/cm for reliable bonding. This means surface preparation is non-negotiable—but most quotes treat it as optional.
In my experience, three preparation methods are common: corona discharge, plasma treatment, and chemical primers. Plasma treatment costs roughly $0.05–$0.12 per part in my region, while a good primer adds $0.03–$0.08 per part—plus application labor. Skipping this step to save $0.10 per unit led to a $1,200 rework order at my facility when edge seals delaminated after 6 months.
Checkpoint: Ask the supplier to provide your specific substrate with their recommended surface preparation. Request peel or shear test data using your PP compound—not a generic “polyolefin” value from a brochure.
Step 3: Calculate Total Cost, Not Just Material Price
A typical trap: Vendor A quotes silicone at $28/kg, Vendor B at $32/kg. You lean toward A until you factor in the hidden costs.
Here's what a full TCO spreadsheet should include:
- Material cost – per kg or per linear meter
- Surface preparation cost – primer, equipment, energy, labor
- Application cost – dispensing speed, curing time, waste factor
- Testing cost – first-article validation, peel tests, thermal cycling
- Rework rate – estimated % of parts that need rework (I use 2–5% for new materials)
- Line downtime – if rework or adjustment is needed, what's the hourly cost?
I once compared suppliers for a silicone edge gasket on a PP housing. Vendor A's material was 15% cheaper, but required a two-component primer that added $0.14/part and 45-minute cure time. Vendor B's silicone was self-bonding to plasma-treated PP (which we already had equipment for). Total: Vendor A $1.28/part vs. Vendor B $0.94/part. The “cheaper” material was 36% more expensive in practice.
Checkpoint: Build a TCO template before you receive quotes. Fill in the hidden costs yourself based on your plant's rates—don't rely on suppliers to volunteer them.
Step 4: Validate Claims with Real Samples (Under Real Conditions)
Data sheets are optimistic. Real-world conditions are not. I've seen test coupons that performed flawlessly in lab air at 23°C, then failed after 100 hours of 85°C/85% RH.
Request sample parts made with your PP compound, your surface preparation process (or the one they recommend), and your bonding geometry. Then test under:
- Thermal aging (e.g., 1000 hours at rated max temperature)
- Humidity/condensation cycles
- Mechanical shock or vibration (mimic shipping/handling)
- If applicable, UV exposure
The step most people skip is long-term aging of the bond. Silicone rubber itself is durable, but the interface with PP can degrade over time due to plasticizer migration or residual stress. A 72-hour test tells you very little about year-3 performance.
Checkpoint: Ask for accelerated aging data that matches your product's expected lifecycle. If the supplier can't provide it, build a 3-month aging study into your project timeline—and budget for it.
Step 5: Evaluate Supply Chain Stability (Not Just Price)
This is where a brand like Shin-Etsu matters—not because it's the cheapest, but because the total cost of an unstable supply chain is catastrophic.
I've switched to Shin-Etsu silicones on two projects after a cheaper vendor had a six-month lead time spike on a specialty grade. That delay cost us $14,000 in production stops—far more than the material savings.
Consider:
- Raw material integration – does the supplier control the entire silicone chain from monomer to finished compound? Shin-Etsu's vertical integration (from silicon metal to silicone rubber) reduces supply risk.
- Technical support – can they help troubleshoot adhesion issues on your line? A process engineer on call can save weeks of trial and error.
- Consistency – ask for CpK data on bond strength or viscosity. A low-CpK supplier means more variability and higher scrap.
Checkpoint: Request a supply risk assessment—lead time history, second-source availability, and quality audit results. Add a weighting factor for supply stability in your final vendor selection scorecard.
Common Mistakes to Avoid
- Only comparing unit price – as shown above, TCO can differ by 30–50% even when material prices are close.
- Assuming all silicones are interchangeable – cure chemistry (addition vs. condensation), filler types, and volatile content all affect adhesion to PP. What works for one compound may fail on another.
- Skipping surface preparation to save money – the rework cost almost always exceeds the savings. If your budget is tight, negotiate a lower material price instead of cutting process steps.
- Ignoring the “silicone edge” geometry – flat edge vs. overmolded vs. dip-coated each have different adhesion requirements. Make sure your specs match the intended process.
- Relying solely on supplier data sheets – ask for your material test results, not generic ones.
When to Call in an Expert
I'm not a chemist or a mechanical engineer—I can't speak to molecular bonding mechanisms. What I can tell you from a procurement perspective is that most adhesion failures are preventable with a solid checklist and realistic testing. If your application involves high temperatures above 200°C or aggressive solvent exposure, consult a materials engineer before finalizing the purchase. But for 80% of PP-silicone edge applications, the steps above will catch the costly surprises.
One last thing: the industry has evolved significantly in the past five years. New self-bonding silicone grades (like those from Shin-Etsu Silicones of America) can bond to PP without primer in some cases—reducing process cost and cycle time. But that technology isn't universal. Test first, buy second. That's the cheap route.